

Rediscover the nostalgic taste of homemade chocolate with this easy, customizable recipe. Learn how to make soft or crunchy chocolate using simple ingredients and personal touches.
Hello friends! Today, I’m thrilled to share my very own homemade chocolate recipe—a treat that’s not only delicious but also a healthier alternative to store-bought versions. I’ve experimented with this recipe for a while, and I’m excited to pass on all my tips and tricks so you can customize it exactly to your taste. Whether you prefer it soft and chewy or firm and crisp, this chocolate is all about YOU!
🍬 Why I Love This Recipe
Making your own chocolate is a joyful, creative process. You only need a few pantry staples, and the possibilities are endless:
- You control the sweetness 🍯
- You choose the texture (soft or crisp) 🧊
- You add what YOU love—nuts, coconut flakes, dried fruits, or even a dash of vanilla or orange zest 🍊
Personally, I always go for whole milk powder—it’s closer to the creamy childhood chocolate I remember. I avoid milk blends with too much soy because they just don’t taste the same.
Homemade chocolate is the kind of nostalgic comfort that makes you feel like a child again—but with grown-up control over ingredients!
Ingredients
- 250 g Milk Powder (choose whole milk powder for an authentic taste)
- 30 g Cocoa Powder
- 120–130 g Sugar
- 100 ml Water
- 75–80 g Butter
- Vanilla Essence
- Optional: Dried fruits, nuts, orange essence, etc. 🍊🌰
Instructions
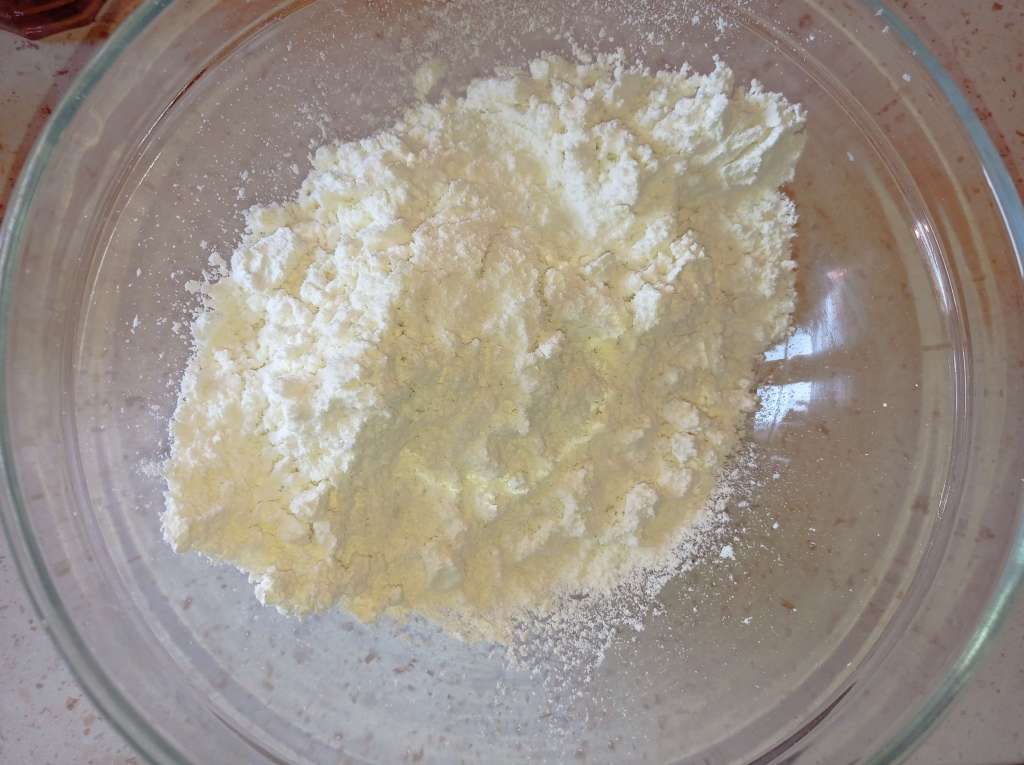
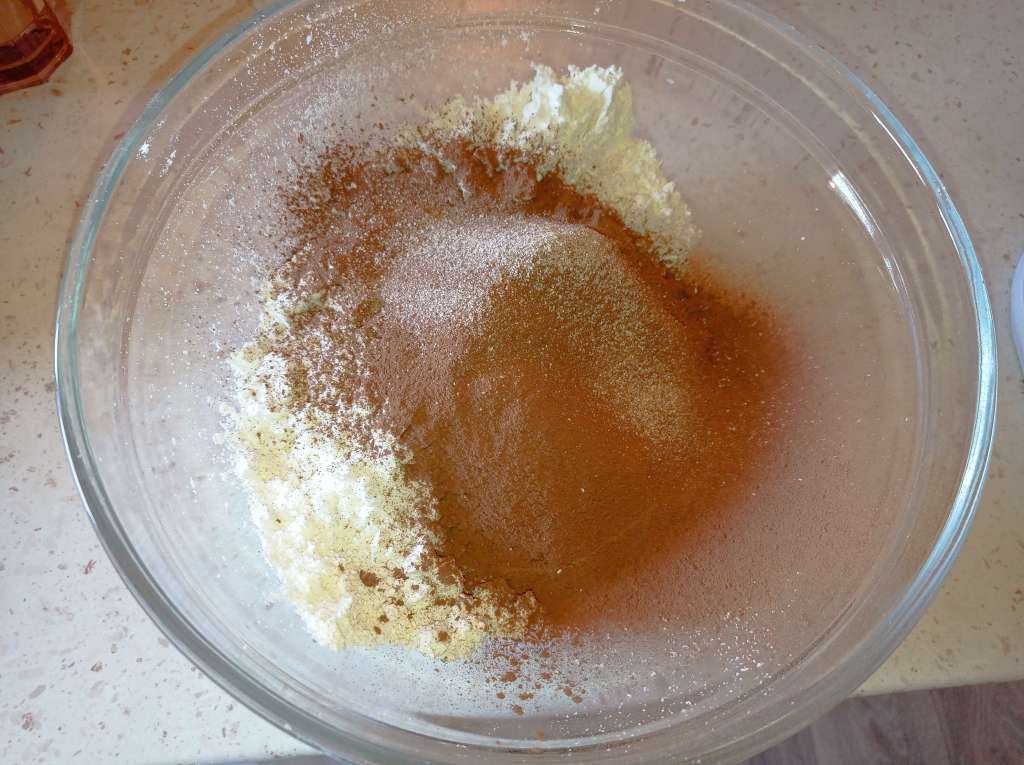
1. Prepare the Dry Mix
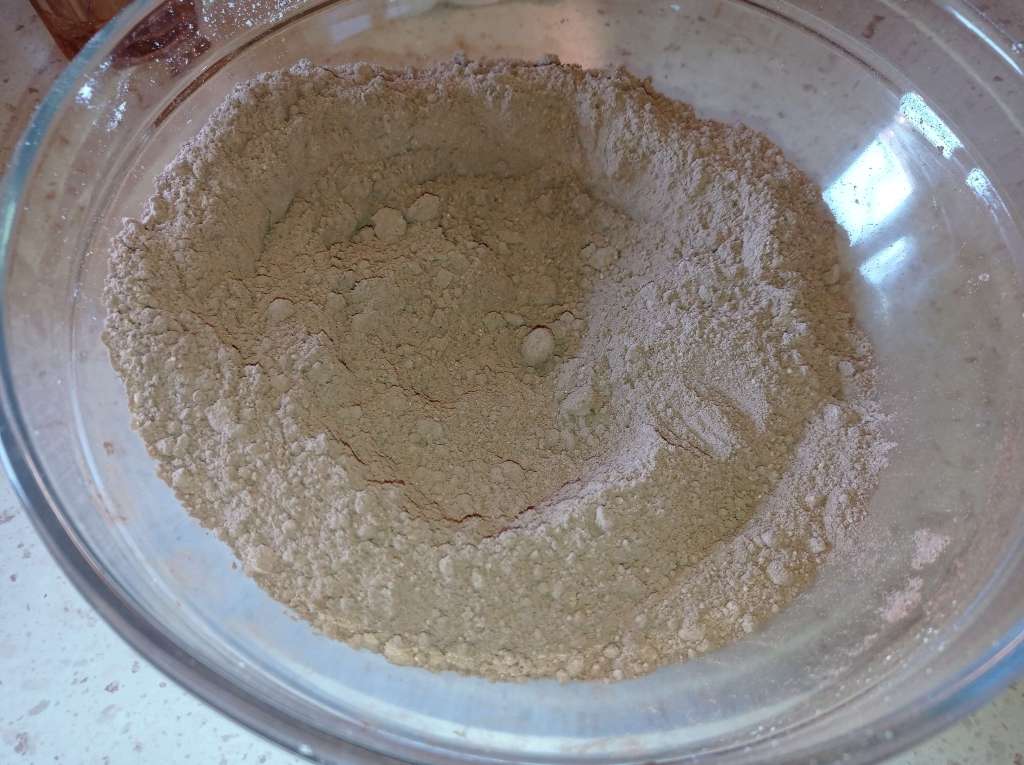
- Sift & Mix: In a large bowl, sift the milk powder to break up any lumps. Then, sift in the cocoa powder. Mix them thoroughly until you achieve a smooth, even blend.
2. Optional Ingredients
- Customize Your Flavor: In a separate bowl, prepare any optional add-ins like chopped nuts, dried fruits, or even a touch of extra orange essence. (I sometimes skip the extra mix-ins to keep it simple and let the rich chocolate flavor shine!)
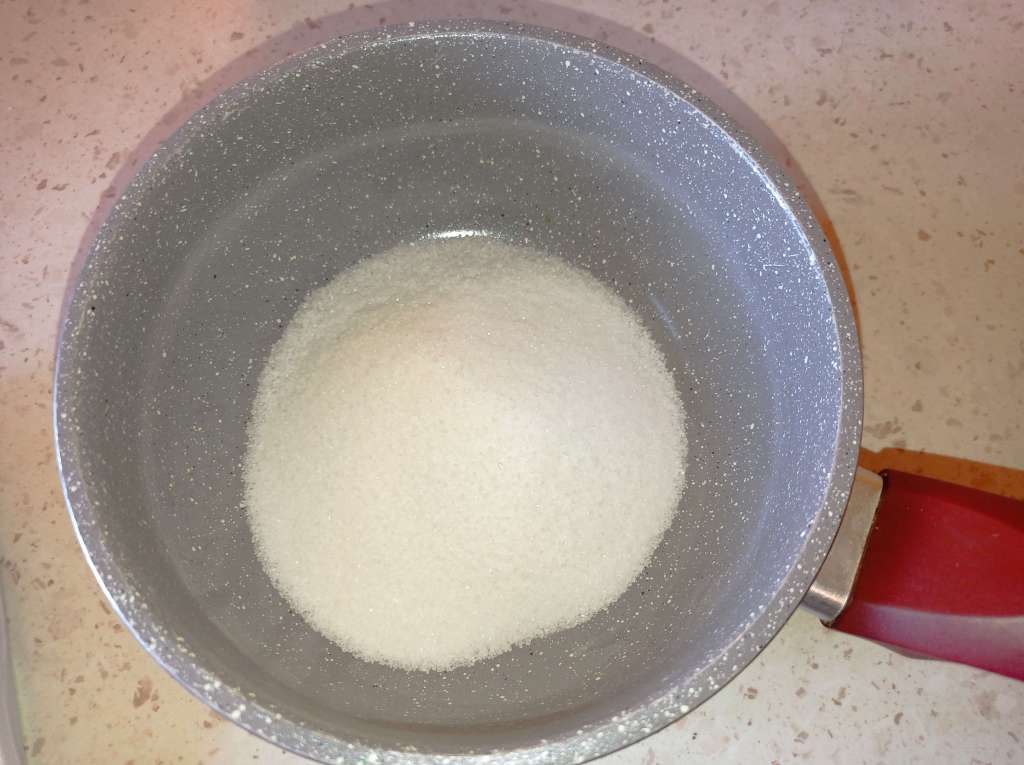
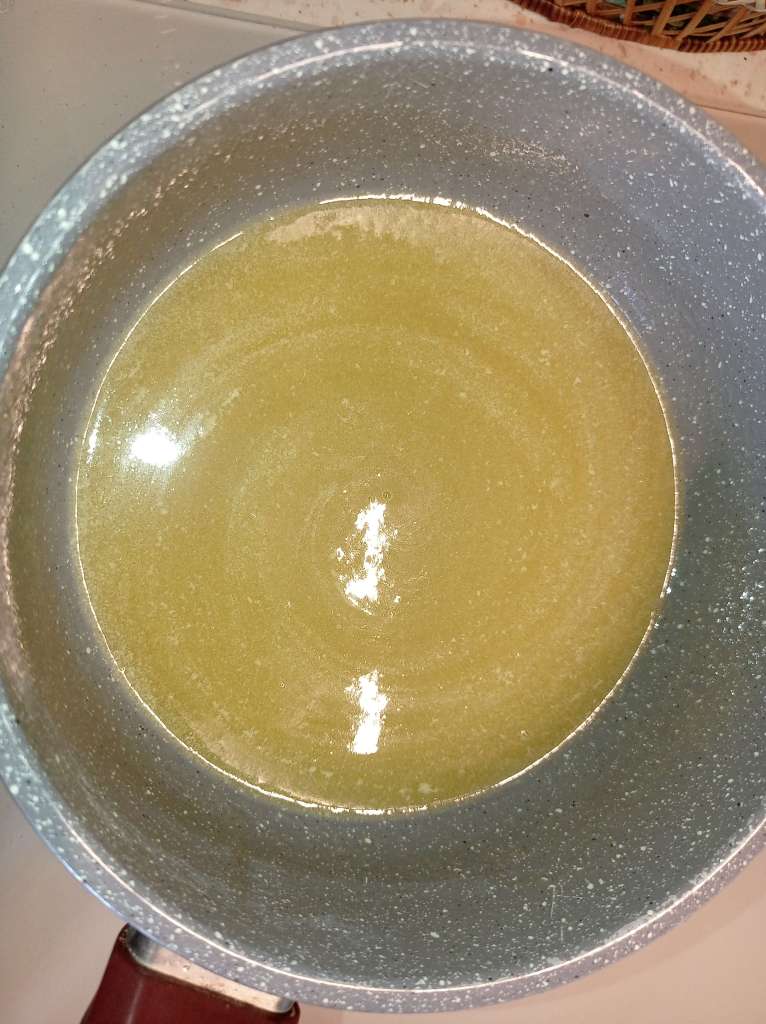
3. Make the Syrup
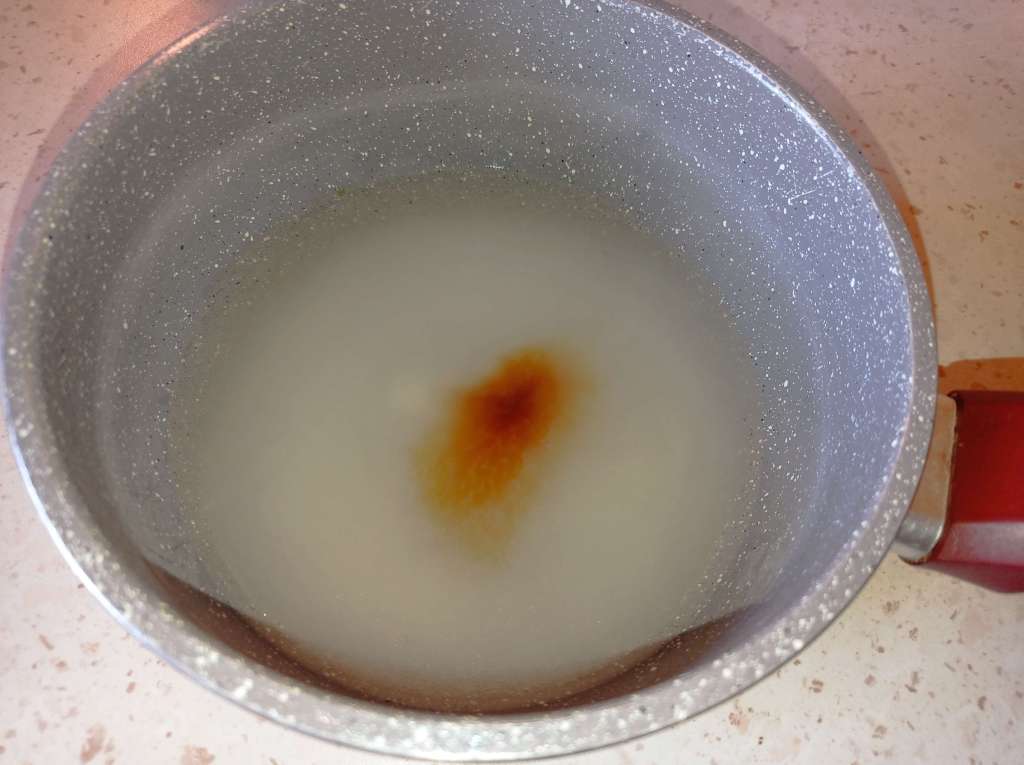
- Combine & Heat: In a small saucepan, add sugar, water, and a dash of vanilla (and orange essence, if using). Bring the mixture to a medium heat and let the sugar melt completely.
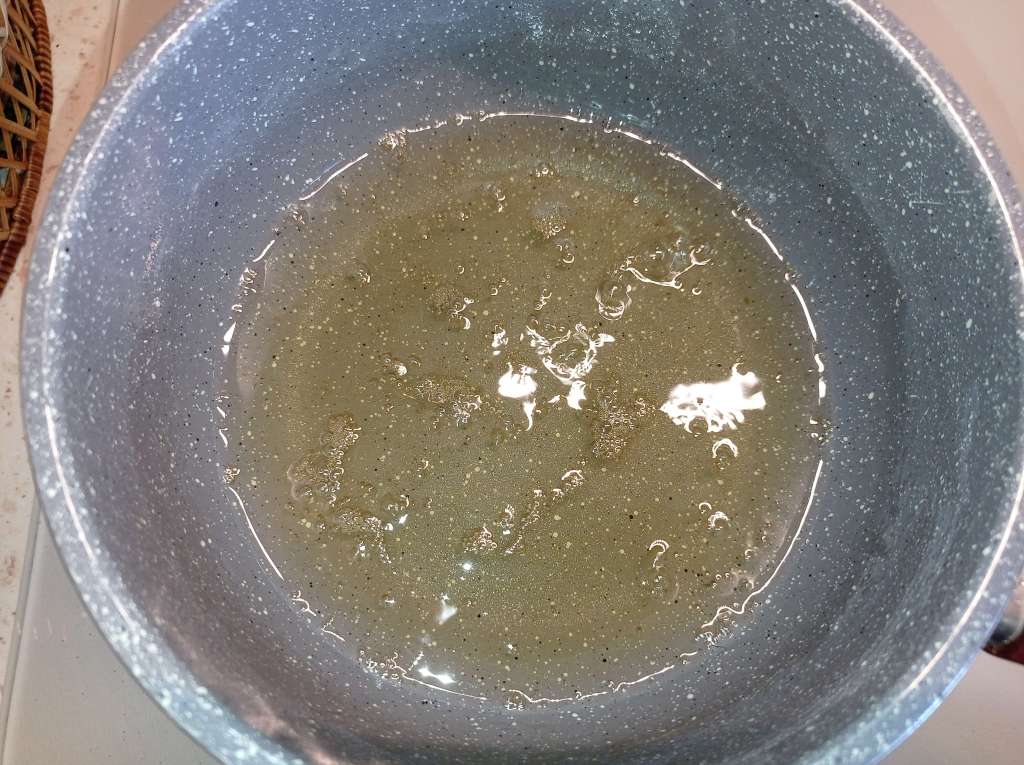
- Boil to Perfection: Allow the syrup to boil until it reaches your desired consistency. In my experience, about 5-7 minutes of boiling gives a syrup that results in a softer chocolate initially. (Keep in mind that it will firm up over the next couple of days.)
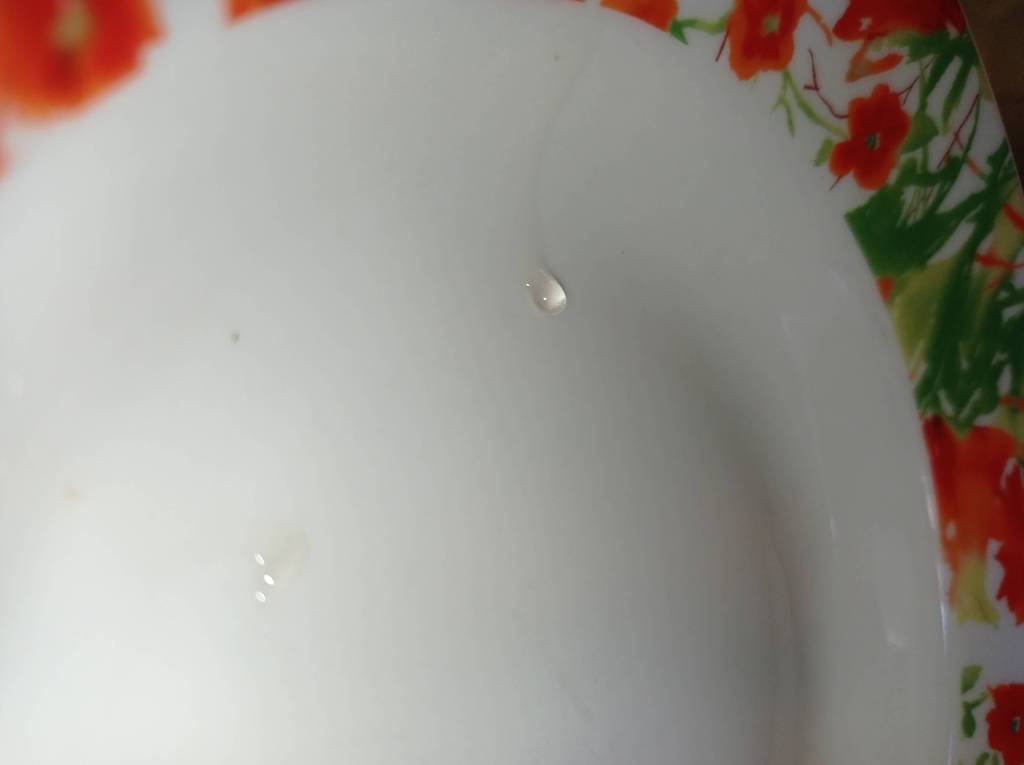
- Test the Consistency: Drop a small amount on a plate and tilt it. If it forms a bead that stays in place, you’re on the right track! Alternatively, take a little between your fingers—if it stretches into a thin string, it’s perfect.
4. Bring It All Together
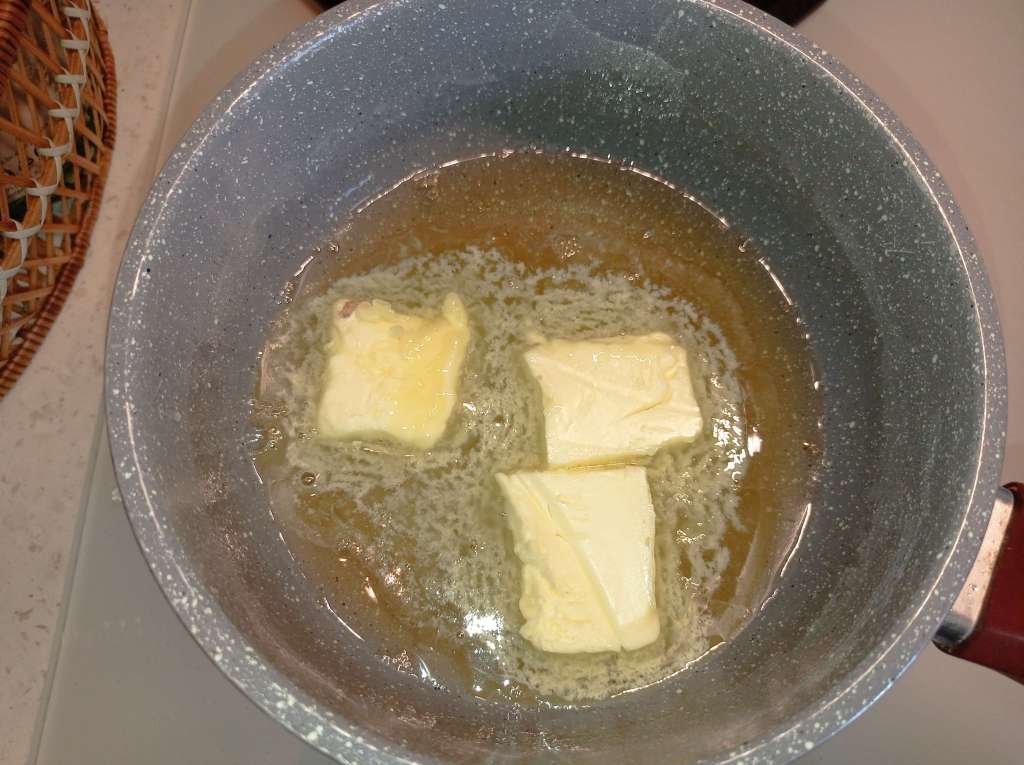
- Add Butter: Once your syrup has reached the right consistency, remove it from the heat and stir in the butter until completely melted and combined.
- Mix & Knead: Pour the hot syrup into your dry mix. Quickly stir with a spoon and then knead the mixture by hand. (Be cautious—it’s hot!) This is the moment to fold in your optional ingredients if desired.

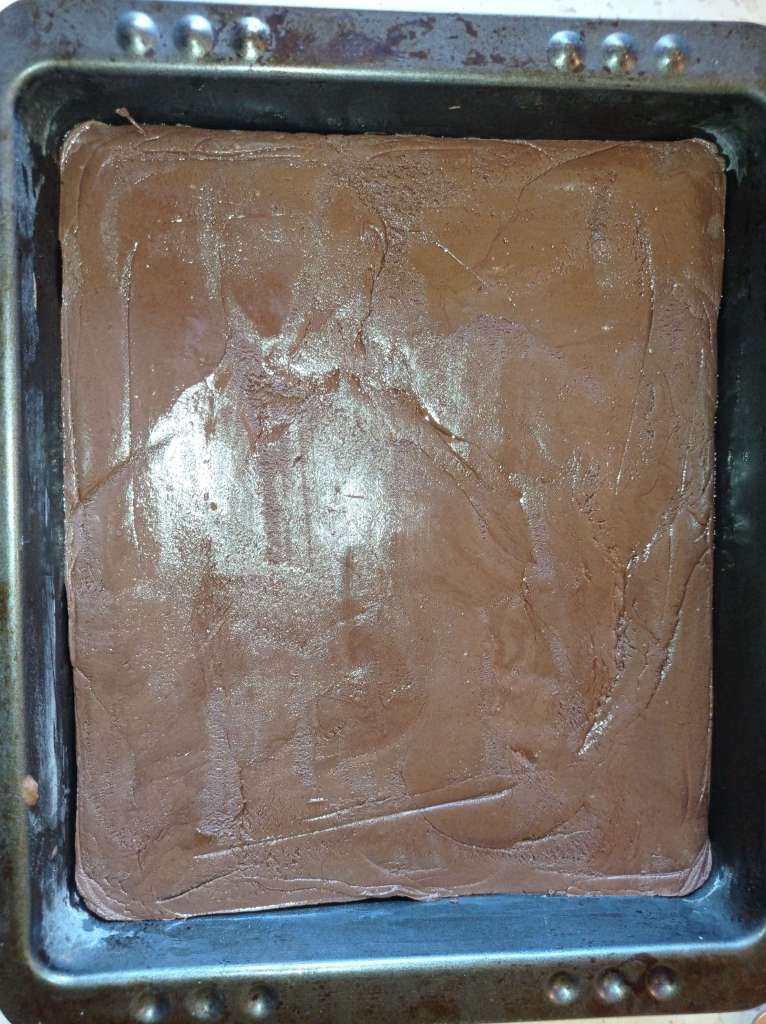
5. Shape & Set
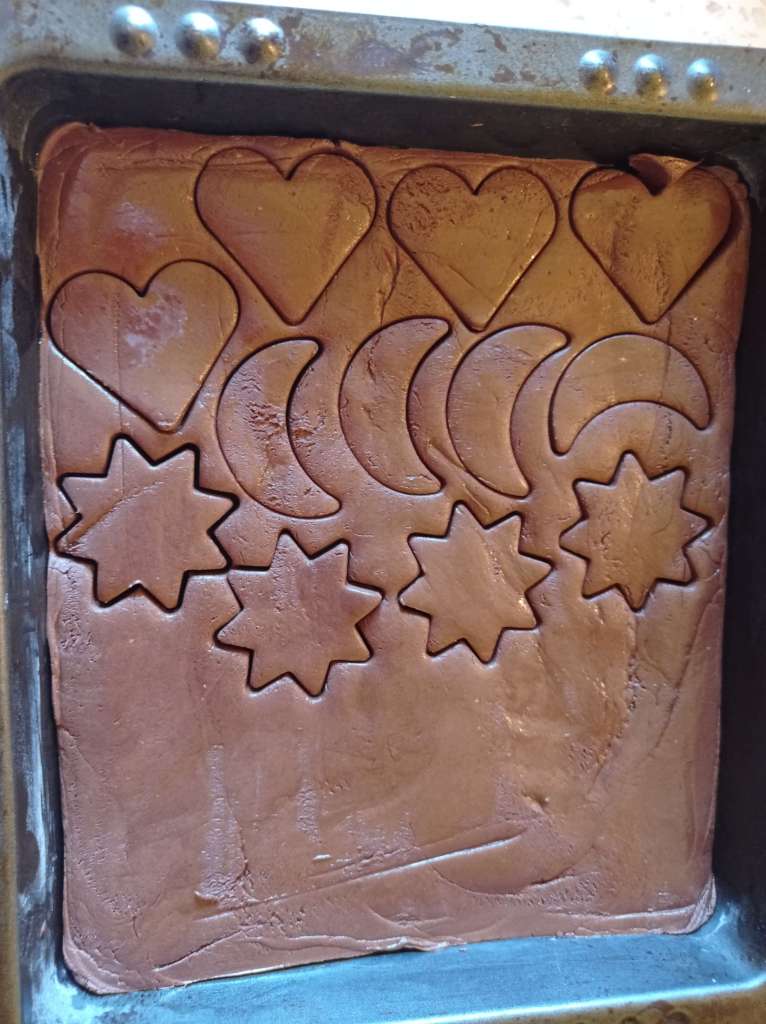
- Mold Your Chocolate: Spread the chocolate mixture onto a baking tray using a spatula. For fun shapes, press cookie cutters gently into the mix.
- Cool & Store: Transfer the tray into a jar or container and refrigerate for up to two days. After that, leave it out at room temperature until it’s all gone.

✨ Final Thoughts & Tips
- If you’re unsure about consistency, start with a slightly softer syrup—it firms up more as it cools.
- Want a softer texture? Add a touch more butter or reduce the boiling time.
- Want it firmer and snappier? Cook the syrup longer and use a silicone mold to get clean, crisp shapes.
- Store in the fridge for up to 5–7 days (if it lasts that long 😄).


Let your creativity shine and don’t stress over perfection—each batch is unique, and that’s the magic of homemade treats.
Share your version in the comments—I can’t wait to see what twists you bring to it!💕
🍫 Made with Love (and Cocoa) by Lela #SimplifyWithLela 🍫
💌 If you enjoyed this post and want more seasonal tips, cozy recipes, and gentle reminders to slow down, you’ll love my monthly newsletter. No spam, just spinach.
