
Proper sterilization prevents spoilage and keeps your homemade jams, syrups, and preserves safe. Learn easy methods for clean jars and peace of mind.
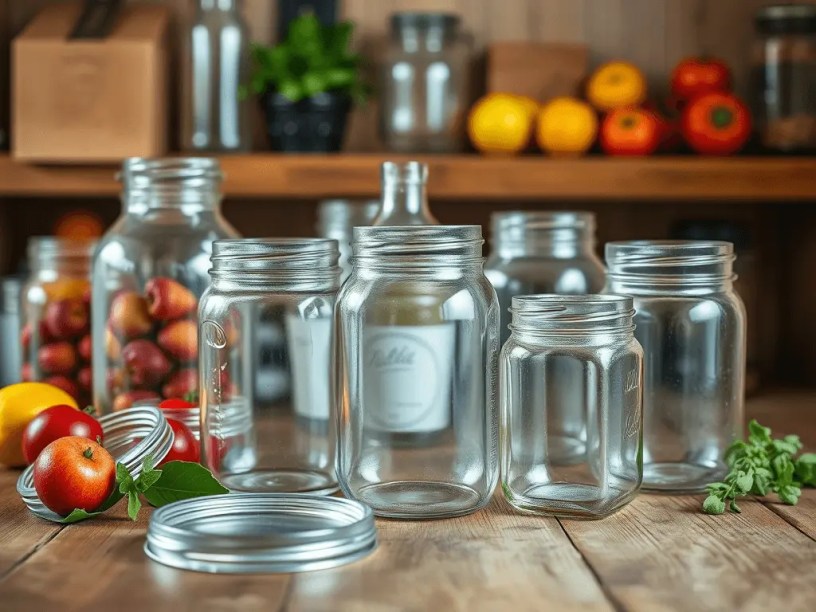
Before filling jars with delicious jams, compotes, or syrups, we must ensure they’re properly sterilized. Clean, germ-free containers guarantee preserves that last safely through winter and beyond. Whether you’re new to preserving or seasoned in the kitchen, this guide provides simple, effective sterilization methods, step-by-step instructions, and essential tips I’ve learned from my mother and grandmother.
Why Sterilizing Matters 🧼
Even jars that appear clean can harbor bacteria, mold spores, or yeast invisible to the naked eye. When storing food long-term, even a minor contaminant can ruin your preserves.
Proper sterilization ensures:
- ✅ Prevented spoilage like fermentation, mold, or odors.
- ✅ Shelf-stable food for extended periods.
- ✅ Maintained flavors, textures, and nutrients.
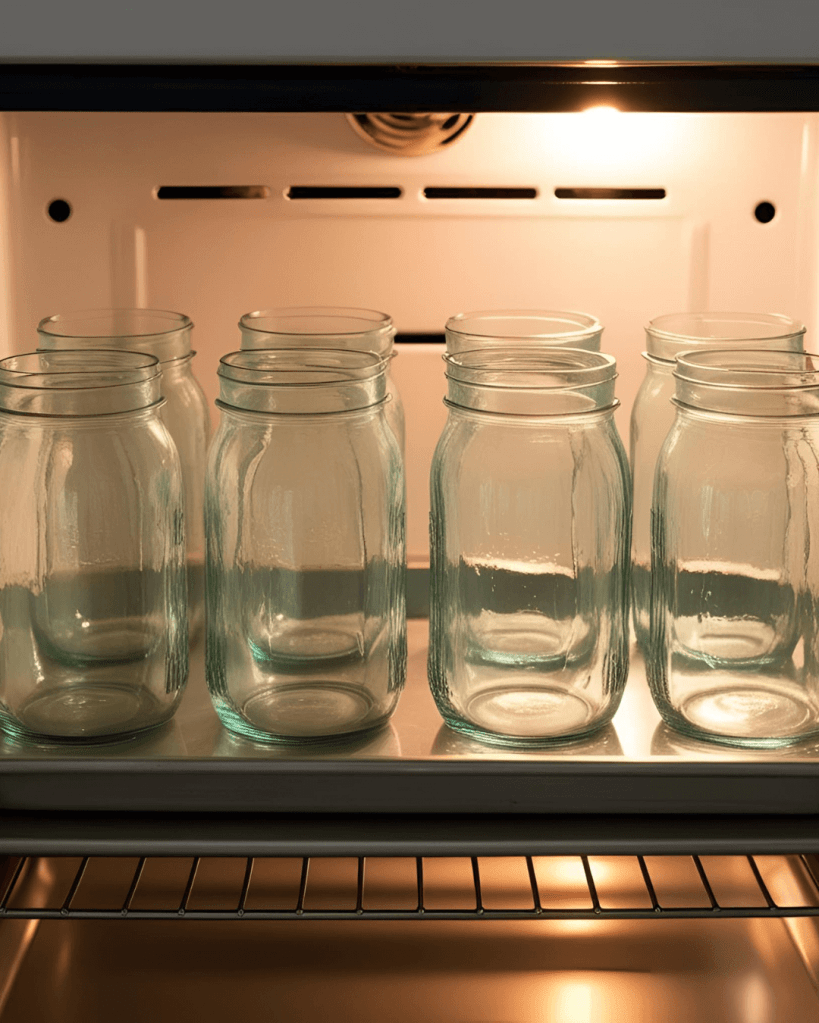
Oven Sterilization Method 🔥
My personal favorite—easy, reliable, and mess-free, just as my grandmother taught me.
Step-by-step:
- Wash jars thoroughly with hot water and mild soap, removing any old labels completely.
- Place jars upright on a baking tray in a cold oven.
- Set oven temperature to 100°C (212°F) and heat jars for 20-25 minutes once temperature is reached.
- Turn off oven and keep jars inside until ready to use (within 2-3 hours).
- Boil lids separately for 10 minutes.
Pros:
- No water or steam mess.
- Suitable for large batches.
- Jars dry naturally.
Cons:
- Unsuitable for jars with rubber seals.
- Fragile glass may crack.
Boiling Water Method 💧
A classic, versatile choice suitable for any kitchen.
Step-by-step:
- Place clean jars in a large pot and cover completely with water.
- Bring water to a rolling boil.
- Boil jars for 10-15 minutes.
- Carefully remove jars with tongs and dry upside down on a clean towel.
- Sterilize lids separately.
Pros:
- Universally effective.
- Works for various jar sizes.
Cons:
- Requires significant time.
- Needs a large pot.
- Risk of cracking jars if temperature changes suddenly.
Dishwasher Method 🧽
Ideal for busy days—hands-free and simple.
Step-by-step:
- Load clean jars onto the dishwasher’s top rack.
- Use the hottest cycle (sanitize setting preferred).
- Keep dishwasher closed until filling jars.
- Sterilize lids separately by boiling.
Pros:
- Effortless process.
- Jars are sterilized and dried simultaneously.
Cons:
- Not all dishwashers achieve necessary sanitization temperatures.
- Requires careful timing.
Steam Sterilizer Method 💨
Effective for smaller batches using a baby-bottle sterilizer.
Step-by-step:
- Place jars inside sterilizer with recommended water.
- Run full sterilization cycle (usually 8-12 minutes).
- Immediately use jars after the cycle.
Pros:
- Quick and reliable.
- Perfect for smaller jars.
Cons:
- Limited capacity.
- May not accommodate large jars.
Choosing the Best Method ✅
| Method | Best For | Avoid If… |
|---|---|---|
| Oven | Large batches, less mess | Rubber-sealed jars |
| Boiling Water | Any jar type | No large pot available |
| Dishwasher | Low-effort sterilization | Dishwasher lacks sanitize |
| Steam Sterilizer | Small batches, speed | Many jars to sterilize |
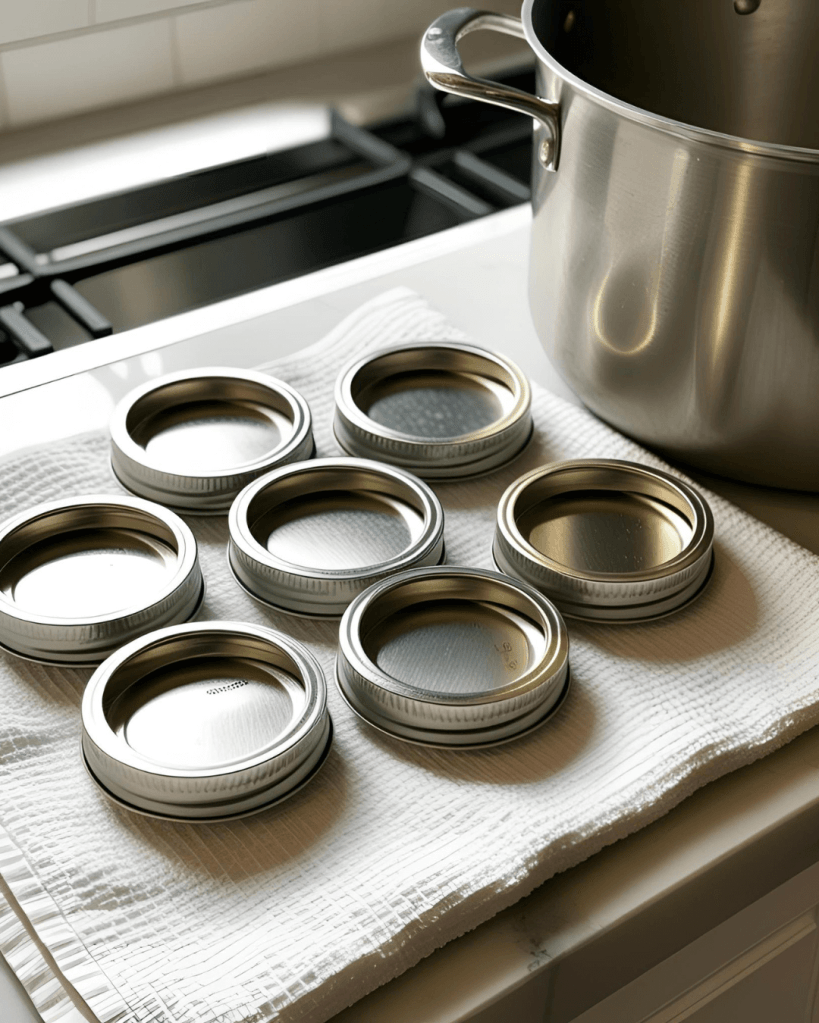
Sterilizing Lids & Caps 🔩
Always sterilize lids separately:
- Boil for 10 minutes.
- Dry on a clean towel.
- Never reuse rusty or damaged lids.
Final Tips for Success 🌟
- Fill sterilized jars while still warm.
- Never pour hot food into cold jars; place jars on a metal tray or metal box to avoid thermal shock (another valuable tip from my grandmother).
- Use funnels to maintain clean jar rims.
- Always wipe rims clean before sealing tightly.

Sterilizing jars correctly is essential, as confirmed by guidelines from the USDA Complete Guide to Home Canning.
🫙 Preserve the season, savor the simplicity.
#SimplifyWithLela 🫙
💌 If you enjoyed this post and want more seasonal tips, cozy recipes, and gentle reminders to slow down, you’ll love my monthly newsletter. No spam, just spinach.
