
Preserve your favorite jams, pickles, and sauces with this beginner-friendly water bath canning method. Safe, simple, and surprisingly satisfying.
Water Bath Canning (Bain Marie): The Gentle Giant of Home Preserving 🫙
If you’ve explored my other preserving articles, you’ve definitely seen the term “bain marie,” also known as water bath canning. It’s a method I learned from my grandmother, and we use it frequently. Let’s dive deeper into exactly what it is, how it works, and why it’s an essential technique in any seasonal kitchen. 😊
🫧What Is Bain Marie?
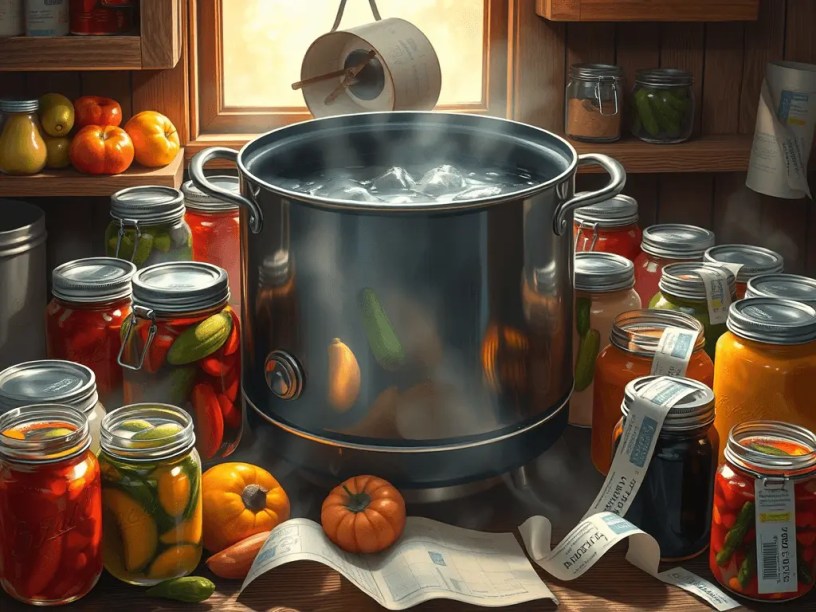
The bain marie method involves placing sealed jars in a large pot of boiling water. The heat kills harmful microorganisms and creates a vacuum seal that ensures food safety for months (or even years, in some cases!).
Unlike pressure canning (which is necessary for low-acid foods like beans or meat), water bath canning is ideal for high-acid foods, such as:
- Jams & jellies
- Syrups
- Fruit preserves
- Pickles
- Tomato sauce (with added acidity like lemon or vinegar)
Why Use This Method?
Because it’s:
- ✅ Safe (when used for appropriate recipes)
- ✅ Simple (no fancy equipment needed)
- ✅ Reliable (when done properly, creates a tight seal every time)
- ✅ Beginner-friendly (perfect for home canning newbies)
And all you really need is a pot of boiling water!
According to the National Center for Home Food Preservation, water bath canning is safe when used for foods with adequate acidity (pH 4.6 or lower).
🫙 Jar Prep First: Don’t Skip This!
Before you start canning, your jars must be sterilized properly to ensure food safety.
📖 Need help with that? Check out my detailed Jar Sterilization Guide for safe and simple methods that suit every kitchen.
Step-by-Step Guide. How to Do Water Bath Canning 📋
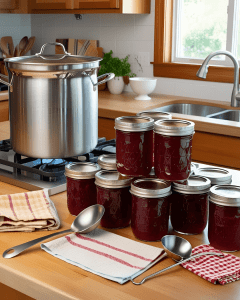
What You’ll Need:
- Large deep pot (canning pot or stockpot)
- Rack or folded kitchen towel
- Sterilized jars and lids
- Jar lifter or tongs
- Timer

Step-by-Step Instructions:
Prepare the Jars:
Fill hot jars with your prepared recipe (jam, compote, syrup), leaving 0.5–1 cm of headspace.
Seal Carefully:
Wipe the jar rims clean and seal with sterilized lids.
Layer Protection:
Place a rack or towel at the bottom of the pot to prevent breakage.
Add Jars:
Lower jars into the pot gently. Make sure they don’t touch each other.
Add Water:
- Traditional method: Cover jars with 2–3 cm of water.
- My family method: Add water just below the jar rims—until the “neck” of the jar. (Yes, it works!)
Bring to Boil:
Heat water until it reaches a full rolling boil.
Set the Timer:
Boil for the time recommended in your recipe (usually 10–20 minutes).
Cool Down:
Turn off heat, let sit 5 minutes, then remove jars with tongs.
Rest:
Place jars upside down on a towel. Let them cool for 12–24 hours undisturbed.
Check the Seals:
The lid should be sunken and firm when gently pressed.
🔍 Pros & Cons of Water Bath Canning
✅ Pros:
- No expensive tools required
- Preserves taste, color, and texture
- You can process multiple jars at once
- Easy to use even in a small kitchen
❌ Cons:
- Not safe for low-acid foods
- Requires some care and space
- Boiling and handling hot jars can take time and attention
🌟 Tips for Best Results
- Always use clean, hot jars and brand-new lids (unless they are specifically reusable).
- Don’t skip the sterilization step—it’s essential.
- Adjust boiling time depending on altitude and jar size.
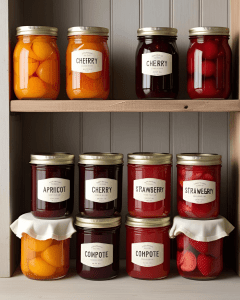
- Label everything with content and date before storing in a cool, dark place.
🤔 Common Questions
Q: Can I use any large pot?
Yes! As long as it’s deep enough to cover the jars with boiling water or reach the neck level, it works fine.
Q: Do I need a special rack?
Not necessarily—a folded towel works in a pinch. A rack improves circulation but isn’t mandatory.
Q: Can I skip boiling if the jars are hot?
Not recommended. Some still use the “flip and seal” method, but water bath canning is safer and ensures a long shelf life.
💬 Final Thoughts
Bain marie might be a gentle method, but it’s a powerful tool in your seasonal kitchen. It connects tradition with modern safety, gives you control over your pantry, and adds beauty to your shelves—one jar at a time.
If you’re new to preserving, this is the perfect method to start with. And once you master it, a whole world of jams, compotes, and pickles awaits. 🌿
🫙 Preserve the Season with Lela #SimplifyWithLela 🫙
💌 If you enjoyed this post and want more seasonal tips, cozy recipes, and gentle reminders to slow down, you’ll love my monthly newsletter. No spam, just spinach.
👉 Subscribe here
