
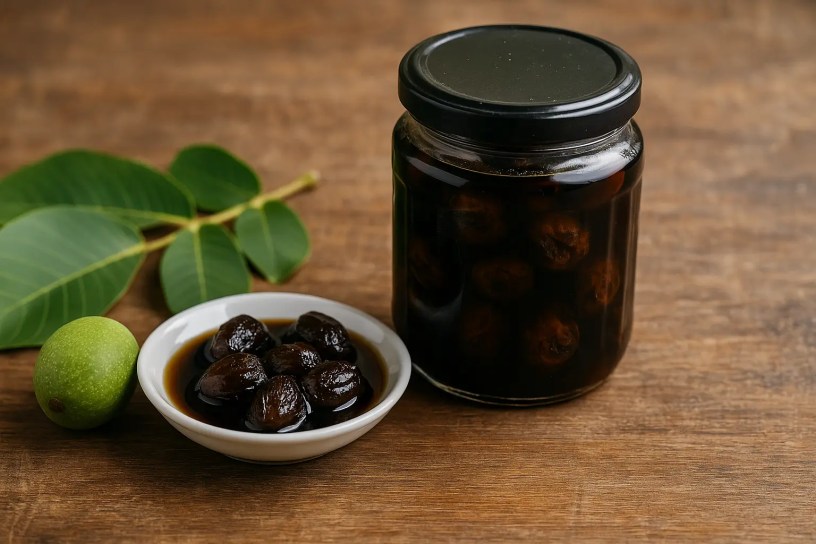
Green walnut jam is not just a recipe—it’s a ritual. Made only a few weeks each year, when the walnuts are tender and full of promise, this bold preserve has deep roots in Balkan and Middle Eastern traditions. With its unmistakable flavor and unique preparation, it’s the kind of preserve you make once, remember forever, and serve only to the bravest guests.
Wait—Jam or Preserve?
Technically, this is not a jam. In many Balkan and Eastern European kitchens (including mine), there’s a big difference:
Jam (gem, konfityur, marmelada, marmelat) is mashed fruit cooked slowly until thick, while preserve (dulceață, sladko, glyko tou koutaliou, reçel, morabba) means whole fruits floating in fragrant syrup.
This green walnut preserve belongs to the second category—it’s glossy, bold, and the fruit stays whole and proud. Call it what you will, but it’s definitely not your average breakfast spread. 😉
🧬 A Bit of History & Origin
Known as “dulceață de nuci verzi” in Romania, this preserve is found across the Balkans, Turkey, Armenia, and even parts of the Caucasus. Traditionally seen as a luxurious treat due to its labor-intensive process and short harvest window, it was often made for weddings, festive tables, or gifted in ornate jars. The green walnuts were valued for their supposed medicinal properties and were even candied or preserved in syrup by ancient Greeks and Romans.
🌰 Nutrition & Health Facts
While not a health food per se, green walnuts contain:
- Vitamin C (in their early stage)
- Polyphenols and antioxidants
- Iodine (in moderate amounts)
- Essential oils with antimicrobial properties
They’re also believed in folk medicine to support digestion and reduce inflammation. Just don’t eat them raw in large amounts—they’re quite bitter and can stain everything (including your soul).
🛠️ Method Highlights
The process of making this jam is… extra. You’ll be peeling dozens of tiny green walnuts (wear gloves unless you want goblin hands), soaking them in water, blanching, and finally boiling them in a fragrant sugar syrup. It’s a labor of love.
Some regional variations include:
- Clove, cinnamon, or vanilla additions
- A squeeze of lemon juice for brightness
- Calcium hydroxide (var) bath for extra crunch (optional and tricky)
I remember visiting my godparents as a child and being greeted with either honey or green walnut jam, served on a tiny coffee cup saucer with a matching spoon. That’s how it was meant to be eaten—simple, pure, nothing else to mask the flavor. But it wasn’t something you’d find in every home. Only wealthier families or people in the countryside who had walnut trees (and not even all of them) would make it. And when you had green walnut jam, it was strictly for guests. When my godmother gave me a jar, I felt so proud—like I mattered.
This recipe comes from my elderly godmother (my godmother’s mother), an amazing woman. Over time, I tweaked it a bit—less sugar, a slightly different peeling method, but the essence remains hers.
🍯 The Recipe: Traditional Green Walnut Jam
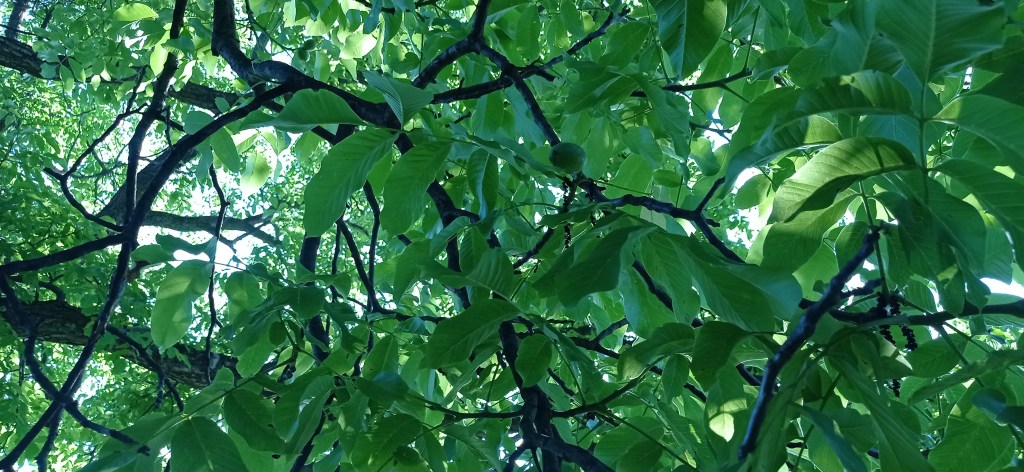
This year wasn’t a good one for walnuts. A late frost hit just as the flowers opened, and what was left got battered by hail. So, I didn’t have many—and they weren’t pretty. But that doesn’t matter—we peel them anyway. The important thing is that they’re healthy on the inside. I picked a few green walnuts from the tree behind the garden, just enough for a small batch of jam and some walnut liqueur.
I picked about 2.5 kg of green walnuts (with husk). After all the prep steps (peeling, soaking), I ended up with 1.7 kg ready to cook, and finally got about 1,4 kg of jam. A lot of work for very little, but absolutely worth it.
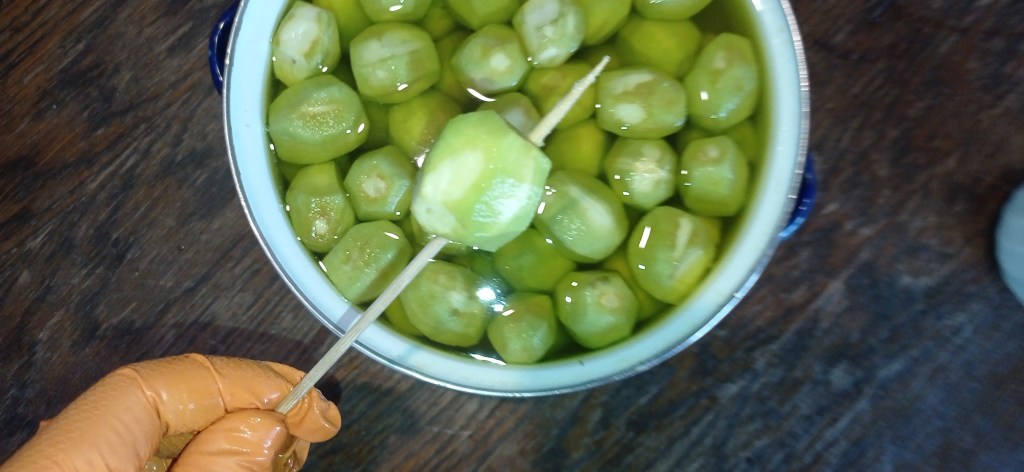
Green walnuts are usually harvested in June. To be safe, stick to that month—you’ll definitely find good ones until the end. The key is making sure the woody inner shell hasn’t hardened yet. You can test this with a toothpick or skewer—it should go in easily. If it resists, you’ve missed the season. Try again next year. I waited until late June to pick mine—they were slightly larger and easier to handle.
🧾 Ingredients
- 2.5 kg green walnuts (whole, unpeeled)
- 1 kg sugar
- 300 ml water
- 5 lemons (for soaking and syrup)
- Optional: cloves, cinnamon stick, or vanilla pod
Step-by-Step Instructions
- Prep the walnuts: You’ll need gloves, a sharp small knife, and lots of patience. Fill a bowl with cold water and squeeze in the juice of 2 lemons (or add 8–10 g citric acid). Green walnuts are rich in iodine—that’s why they stain like crazy. Even if the staining isn’t visible at first, it shows up later. The acidity also prevents oxidation, which turns the walnuts black very fast.

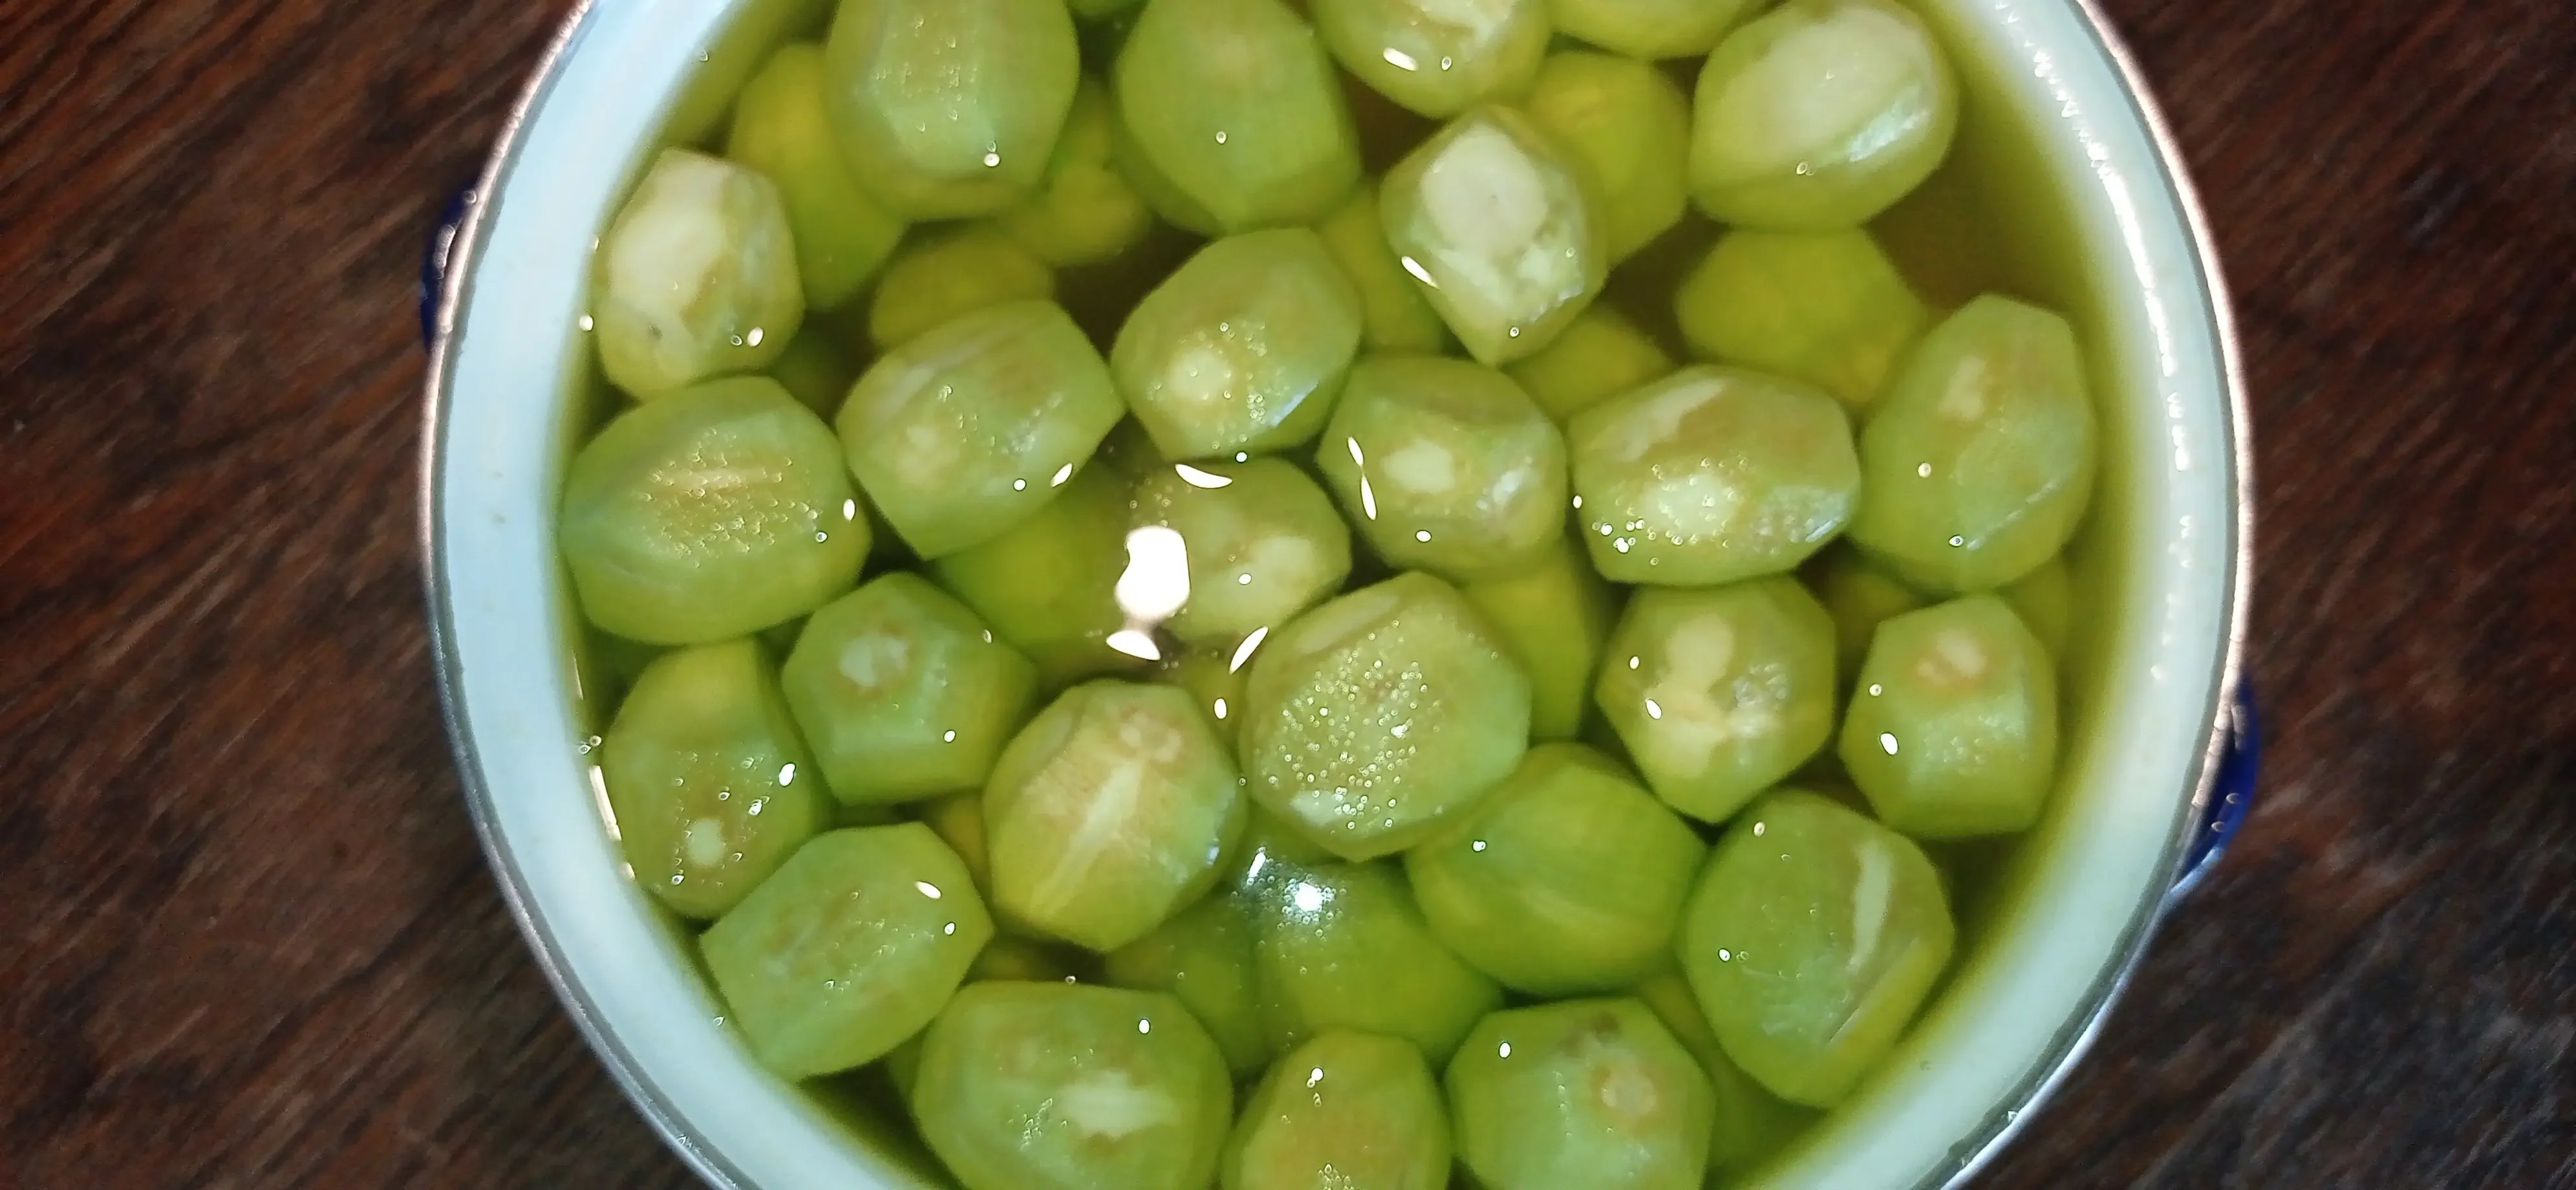
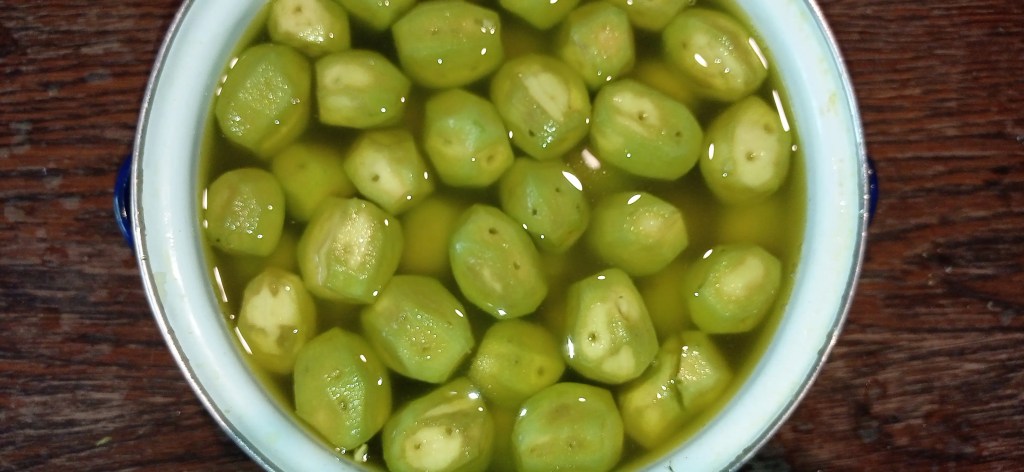
Peel the outer dark green skin, but not all the way to the white core (unless you want lighter-colored jam). I usually peel just the surface, keeping a bit of the pale green layer underneath—it gives the jam a deeper color and stronger green walnut flavor. Place each walnut straight into the lemony water after peeling.

After peeling, I poked them with a skewer all the way through to help the syrup penetrate.
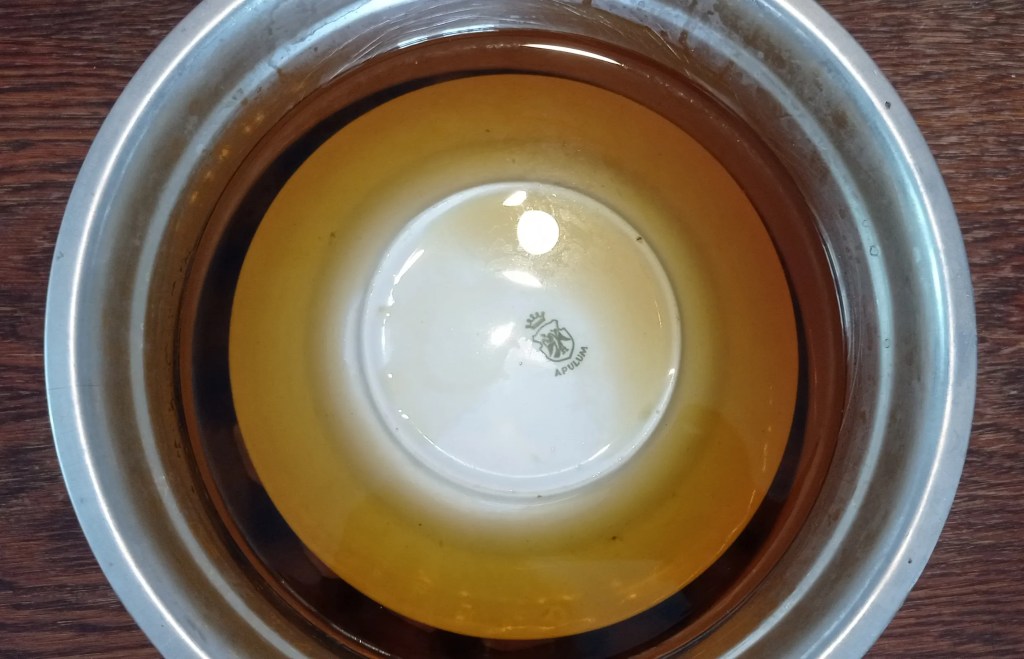
I let them sit for about 15 minutes to release the juice, then changed the water and added juice from 2 more lemons.
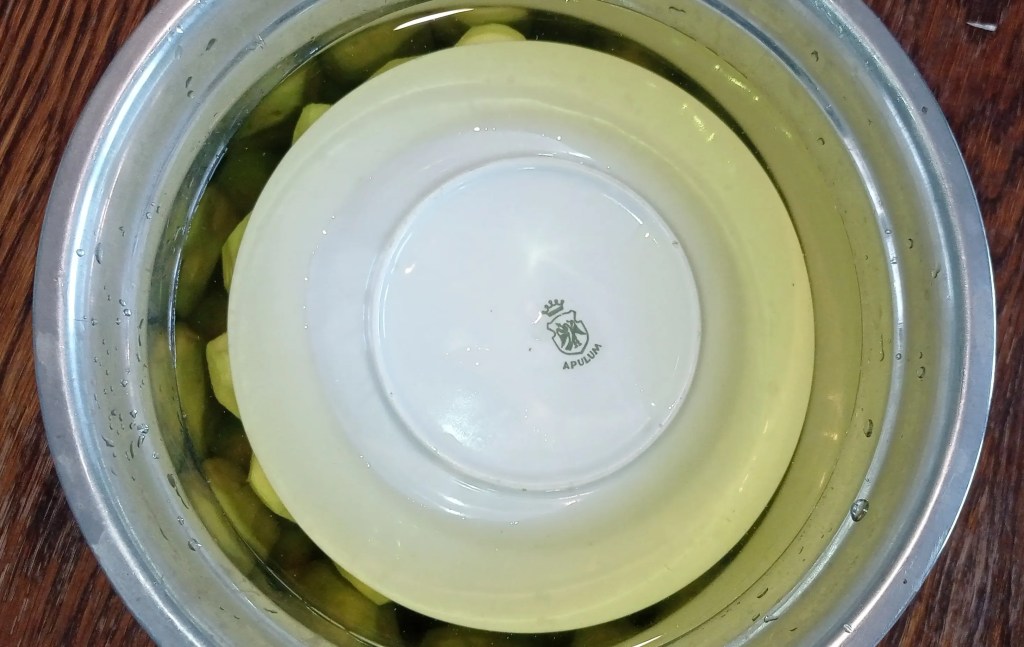
I pressed them down with a plate and let them soak for 12–16 hours, in the fridge. Some recipes say to soak them for several days (changing the water daily), but I don’t find it necessary.
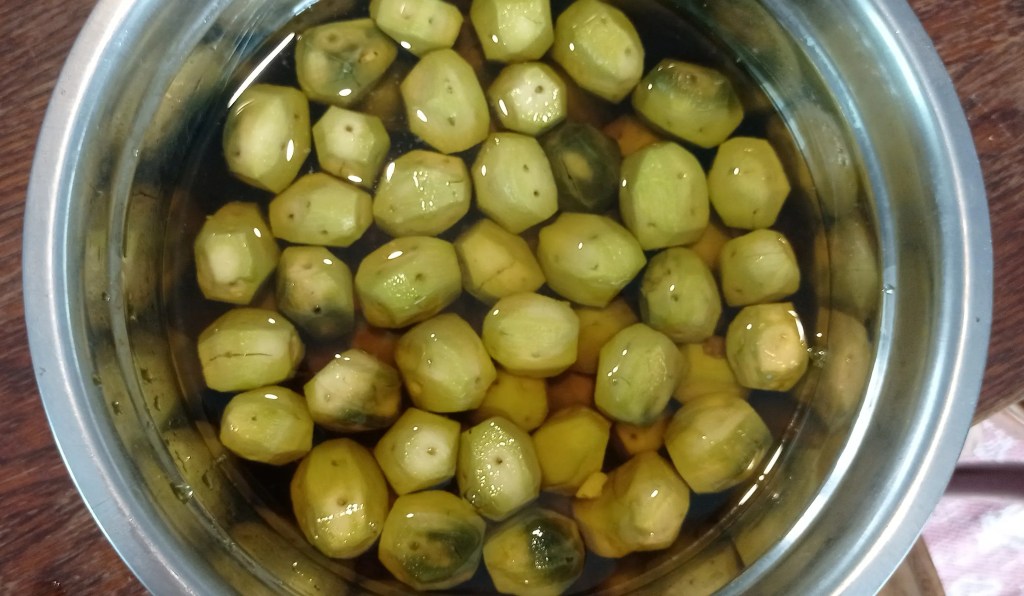
- Blanch: The next day, I rinsed the walnuts thoroughly and brought them to a boil in fresh water for 5 minutes. This removes bitterness. After boiling, I drained them and put them in cold water.

- Make the syrup: I drained the walnuts and weighed them—1.5 kg. Normally, jams are made with a 1:1 sugar-to-fruit ratio, but I prefer using less sugar to let the flavor come through. For preserves, I use between 60–80% sugar depending on how sweet the fruit is. Here I used 1 kg sugar (~65%).
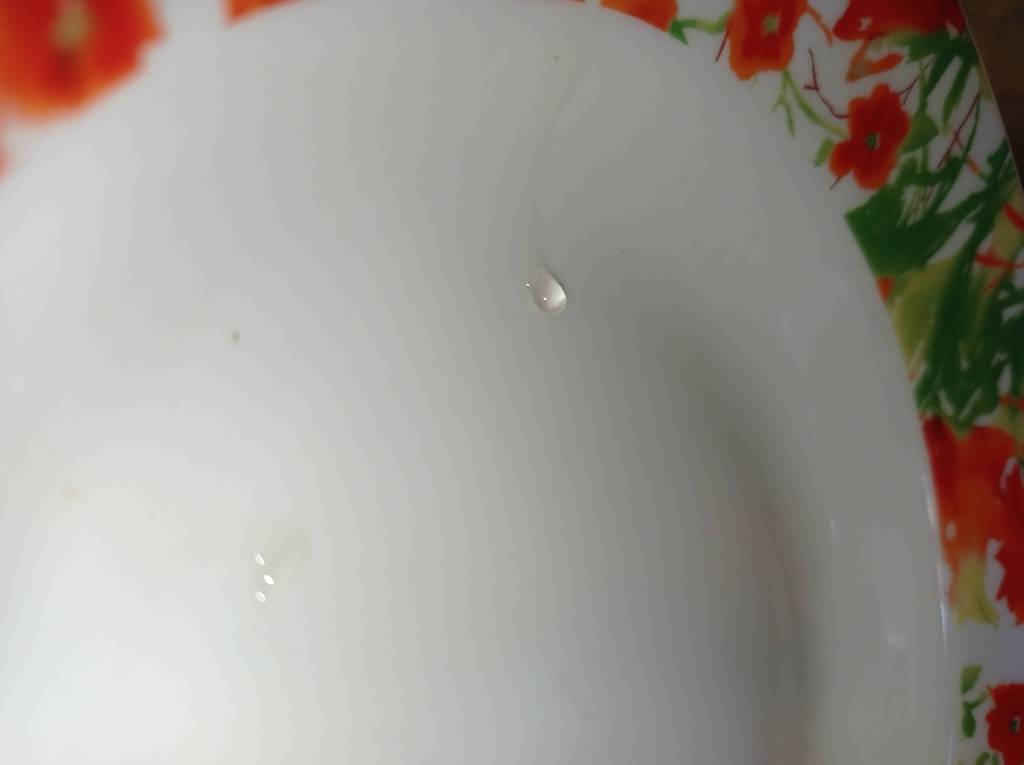
In a wide, tall pot (jam foams a lot!), I added the sugar, water, and a touch of vanilla extract. I boiled the syrup for about 6–7 minutes until it thickened slightly. To test, place a drop on a room-temp plate—it should hold its shape and look like a tiny dome.
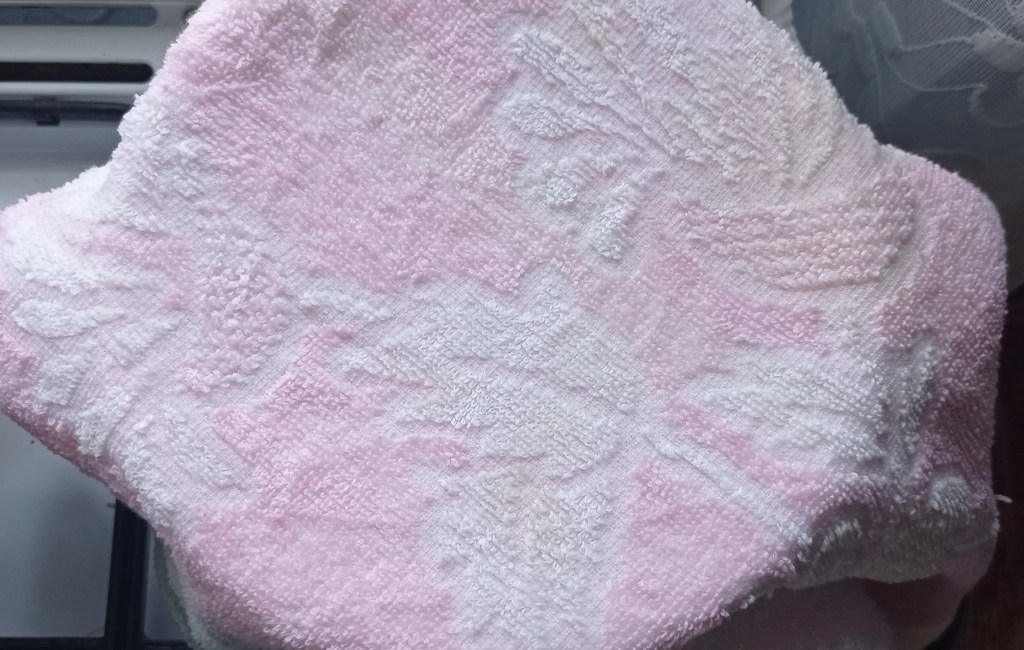
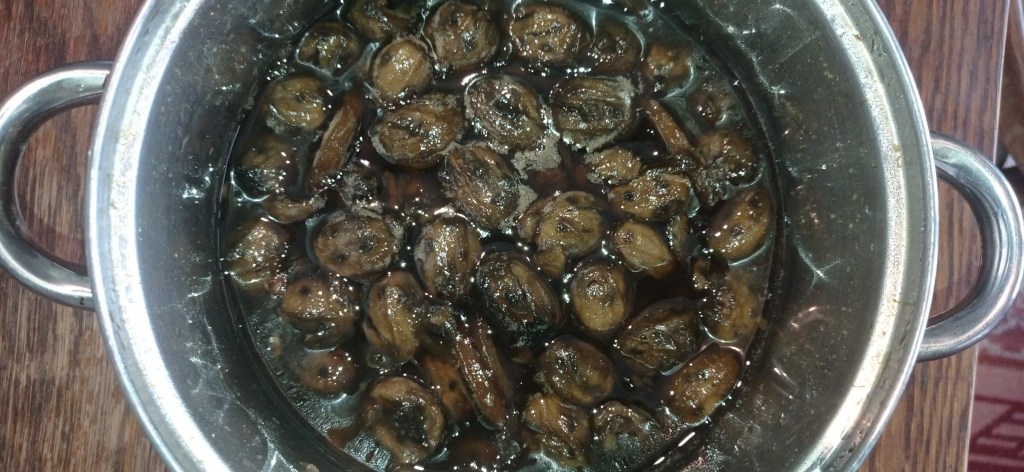
- Simmer: I added the walnuts to the syrup, plus a sliced lemon (for flavor). The syrup thickens a bit at first, but don’t worry—it clears up and starts bubbling nicely. After it began boiling, I let it simmer for 10 minutes, then turned off the heat, covered it with a damp towel (to prevent crystallization), and left it to rest overnight.

- Second boil: In the morning, the consistency was a bit too thin, so I brought it back to a boil for 5 more minutes. You could boil it longer (up to 10 minutes), but don’t overdo it—the syrup thickens more as it cools. I prefer slightly looser jam than one that turns to stone. After this final boil, I let it rest under the towel until fully cooled.
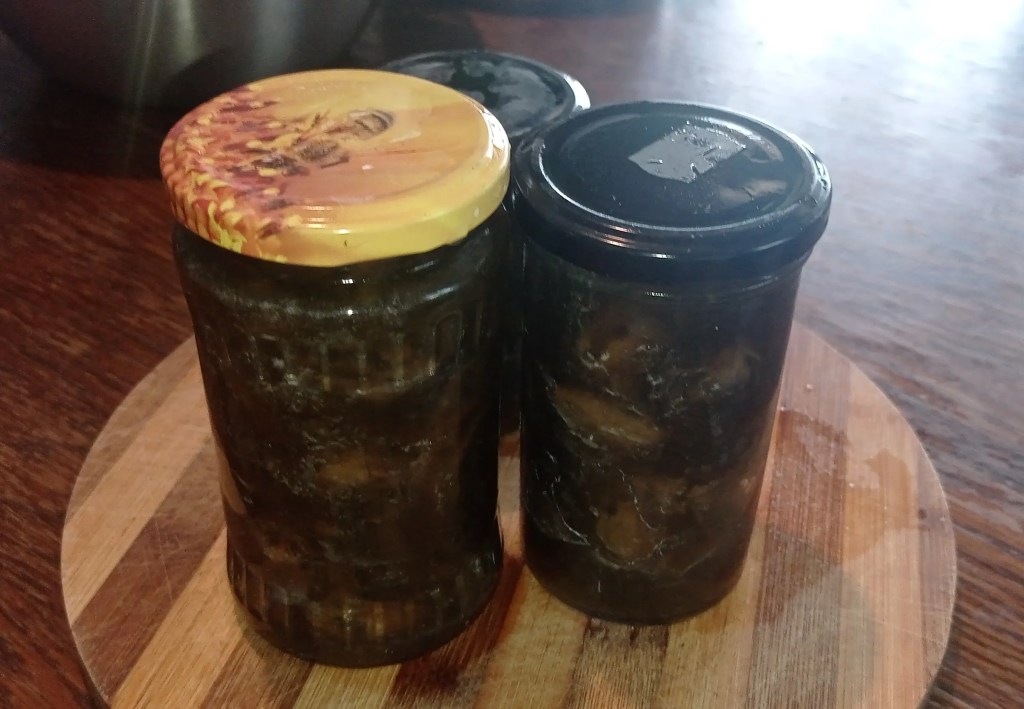
- Jar it: I transferred the jam to sterilized, slightly cooled jars. (Never jar it boiling hot). Then I stored them in the pantry.
🔄 Storage:
Keep in a cool, dark place.
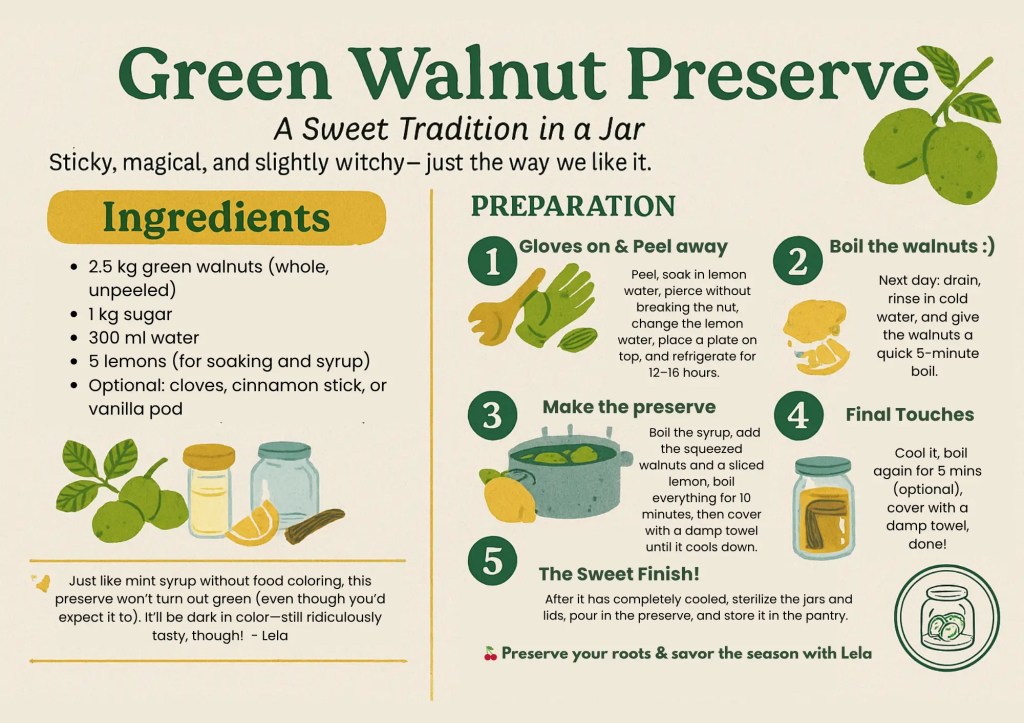
Looking for a simple, visual version of the recipe?
Download or pin the illustrated printable below:
📥 [Click here to download the printable PDF]
🖼️ (Or save the image version below for your digital recipe book!)
🧠 Tips & Notes
- Test your walnuts: They should be soft all the way through, with no woody core.
- Gloves are mandatory unless you want brown-stained hands for a week.
- Use a wide, tall pot: Always choose a pot with high sides and wide base, and never fill it more than halfway with fruit — jam foams a lot and can easily overflow.
- Don’t boil for more than 10 minutes at a time: Overcooking can cause the syrup to harden too much. If you’re doing a second boil, start with just 5 minutes and check the texture — it can turn to stone overnight if you’re not careful.
- Initial consistency is deceiving: The syrup thickens a lot after 1–2 days. What looks watery now might be solid tomorrow.
- Traditional ratio is 1:1 (fruit:sugar): That’s the textbook version. Start from there, then adjust to your taste and fruit sweetness.
- Jar Sterilization Guide → [Internal link]
This preserve pairs beautifully with aged cheese or vanilla ice cream.
🌿 Curious for More?
If you’re diving into the world of traditional preserves, here are a few hand-picked guides and recipes to explore next:
- 🫙[How to Sterilize Jars Properly] → because nobody likes a spoiled jar
- 🔥 [Bain Marie Canning Method Guide] → gentle heat, strong results
- 🫐 [Other Unusual Preserves to Try Next] → think fir syrup,
Preserving is part recipe, part ritual—and the deeper you go, the more delicious it gets.

🍯Preserve traditions. Sweeten memories. #SimplifyWithLela🌰
